

Drilling a hole in a rock can seem daunting for the beginner, but with the correct instruments and some fortitude, it can quickly become a simple endeavor. So, let’s look into the 10 steps to drilling into rock like an expert, arming yourself with the proper tools and confidence to take on this project.
Step 1: Compile the Required Supplies
To get started, you’ll requir some essential equipment. Grab a drill, a drill bit which should suit the rock you’re drilling, a hammer, a chisel along with protective safety glasses. Depending upon the kind of stone and size of the hole expected, select either a masonry drill bit to go with softer rocks or a diamond-tipped one intended for tougher stones.
Spot the Difference: Have You Noticed?
Carefully determine the desired spot and make a visible indication of it with a marker or some chalk. This is necessary to avoid errors that could unintentionally ruin the nearby area during the drilling process.
Initiate the driller: Here’s Your Guide
With the location targeted, it is time to fire up the drill. Insert the drill bit into the chuck of the drill before turning the screws to ensure it is tightly secured.
Firmly Fasten the Rock
To guarantee your stone stays put during the drilling process, you need to secure it carefully. One way to do this is to attach it to a bench with a clamp. Alternatively, you can opt for a vise to secure it securely.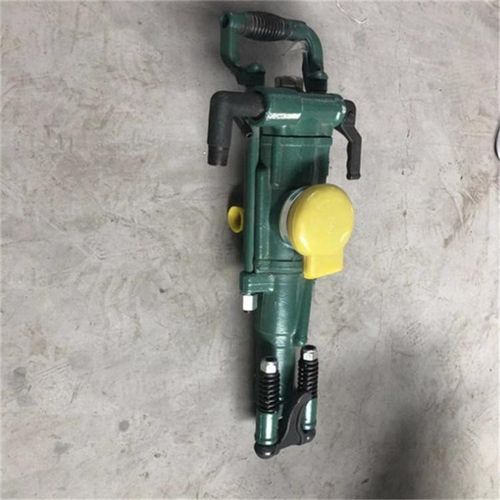
Step Five: Commence Drilling
With the rock securely fastened, it’s time to start drilling. Carefully engage the drill motor and slowly sink the bit into the pre-marked section. Go cautiously to safeguard both the drill bit and stone from harm.
Consistent Drive: A To-Do for Article Heading.
As you drill, make sure to maintain a steady force on the drill bit. This will help create an even hole rather than having it turn out bumpy or crooked.
Cease to Bore
When the hole has been crafted to the necessary depth, it is time to terminate drilling. Power down the drill and cautiously extricate the bit.
The Final Step: Hammering Away with the Chisel
To successfully accomplish the task at hand, a hole must firstly be punched through the desired surface. Sharpening the edges thereafter may be achieved through deftly applying a chisel to achieve a refined finish, whilst ensuring no crevices of the surrounding rock are fissured.
Tidying Up: The Final Stage.
To give the area a finished look, simply sweep away any debris with a brush or wipe away any residue with a damp cloth.
Finishing Touches: Seal the Gap
If your rock formation is in a place where it will be exposed to the elements , then you should make sure to cover the drilled hole by using a waterproof sealant. Another option is to utilize an epoxy solution for its sealing capabilities.
Engaging in the task of sinking a hole into a rock may at first feel daunting, but it can be achieved with the right tools and a little bit of perserverance. Utilize the guidance mentioned herein and you can safely penetrate a rock with simplicity.
Puncturing a solid rock may seem difficult, but the right gear and techniques can make it a breeze. This article will walk you through the method of drilling a hole into a rock, as well as offering some key safety advice to ensure the process is carried out without incident.
Starting Out: What to Know Before You Start.
To begin the drilling process prepared, make sure you have access to the following: a power drill, masonry bit, safety glasses, dust mask, and dust collection system. A masonry bit is absolutely essential when drilling into more formidable materials such as rock or concrete – other drill bits do not measure up. Not only will the dust collection system keep the workspace tidy but it will also keep you safe from any airborne particles that would be created by the continued use of a power drill.
As you prepare to chisel into a rock, ensure that you take all essential safety steps. To begin, slip on a pair of protective eyewear to shield your eyes from any fallen dust or fragments. Furthermore, cover your mouth and nose with a face mask to prevent inhaling any hazardous powder from the drilling. Last, but not least, make sure that the chosen drill bit is suitable for the task at hand, as the incorrect option could cause lethal sparks to fly, resulting in injury.
After having all the necessary materials and protective gear in-place, you are now prepped to begin your drilling session. To ensure successful drilling of a hole in a rock, here’s what should be done:
Locate and prominently delineate where the drill is intended to operate for guidance. Make use of a marker to craft a contour of the aperture you wish to dig, providing you with an explicit marker for precise rivetage.
Securely affix the appropriate drill bit into the power drill. Verify that the bit is securely held in its position before starting the task.
To start drilling into a rock, it is important to begin with a slow, consistent movement. Do not be too hard on the drill – excessive pressure could lead to the bit snapping or the rock shattering.
Forthwith, remove the drill bit and firmly clean away all debris left from the drilling process. Utilize either a brush or a vacuum for an effective dust clearance in the immediate vicinity of the newly formed hole.
After drilling the hole, it’s important to take a close look at it and ensure that its contours match the specifications. Should the size or shape not be ideal, you may have to go back and re-drill it until it meets the necessary requirements.
Even though drilling a hole into a rock can be difficult, making sure to follow safety steps, selecting the correct bit, and following the rules of this guide can make the process easier and better. It may take some time and effort, but you should eventually become confident in drilling holes through rocks with little to no difficulty.
Related Product
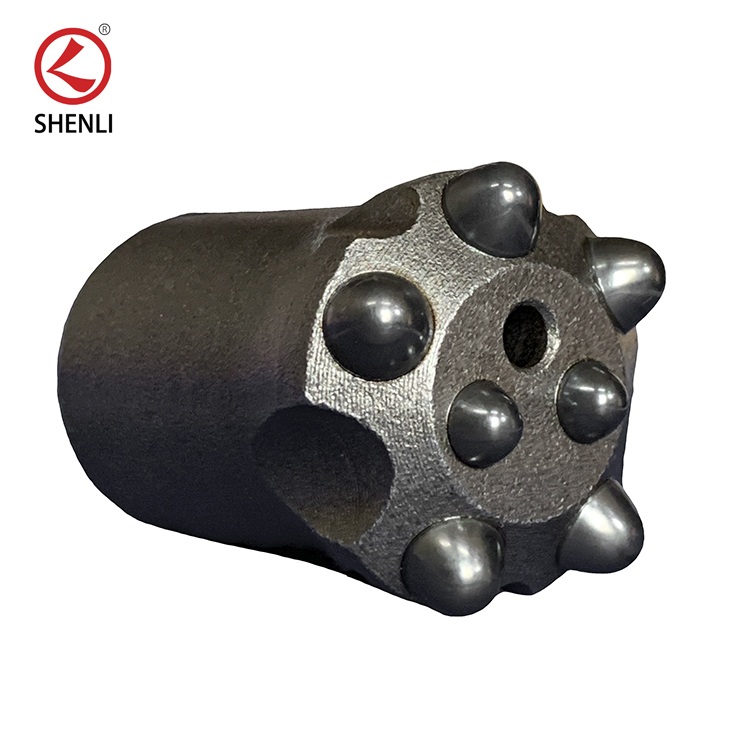
Taper Bits
Taper bits, especially Tapered button bits are the most popular tapered drill bits with a wide selection of head diameters from 26mm to 48mm. With carbide buttons cold pressed on t […]
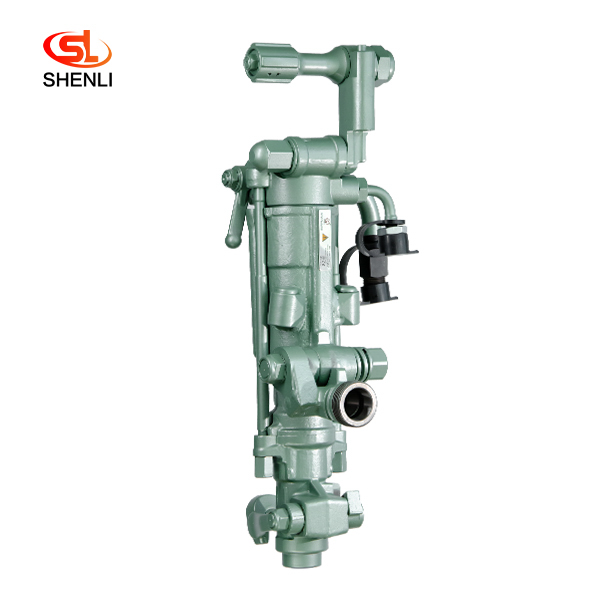
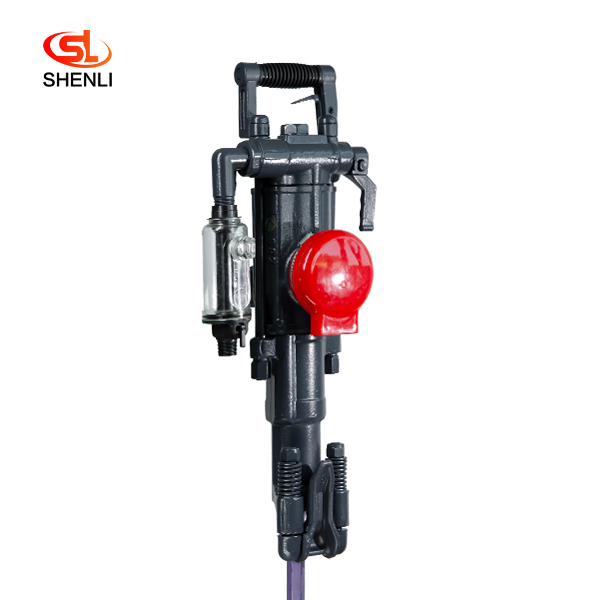
YT27 Air Leg Pneumatic Rock Drill Pusher Leg Rock Drill
The YT27 air-legged rock drill is a highly efficient lightweight rock drill suitable for downward or inclined drilling in medium-hard or hard (f=8 – 18) rock with a diameter […]
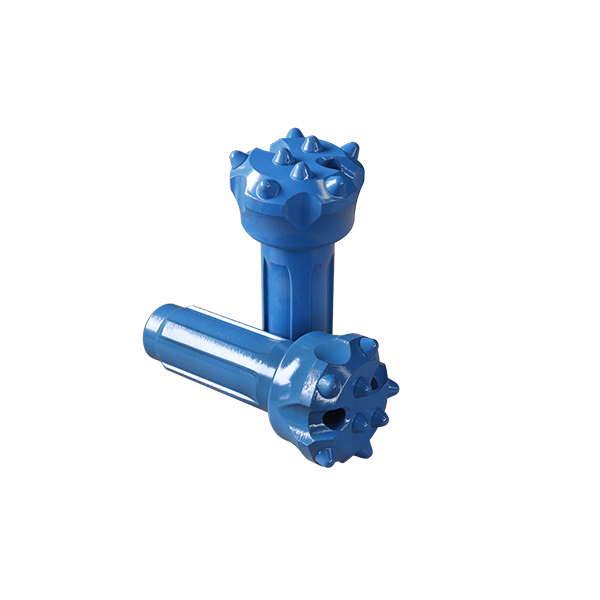
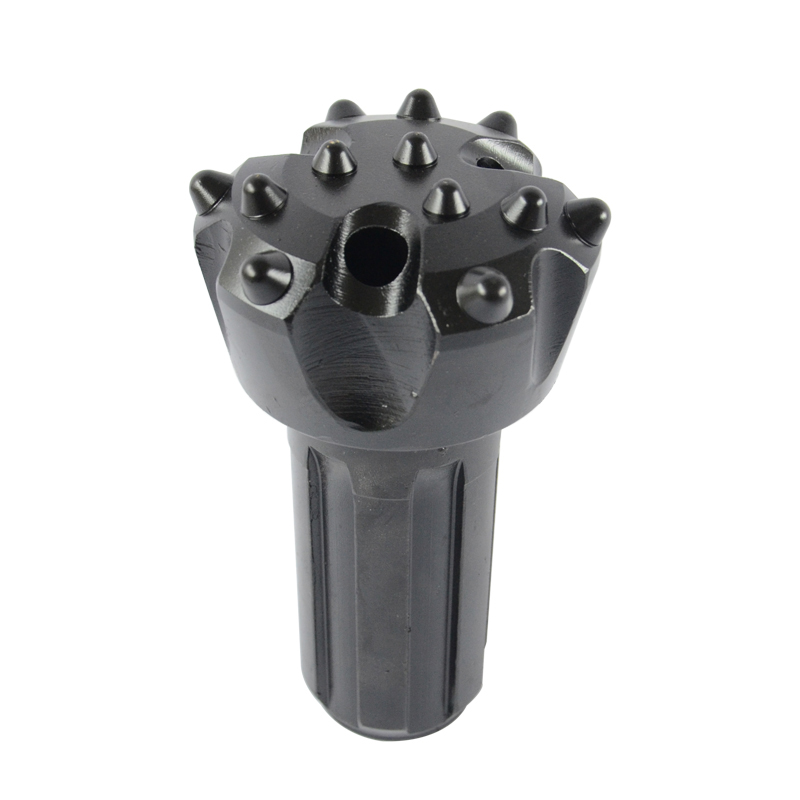
CIR Series DTH Bits(Low Pressure) CIR76-76
Down-the-hole (DTH) hammer bits are used with Down-the-hole hammers for drilling holes through a wide range of rock types. In conjunction with DTH hammers, drill hammer bits are de […]
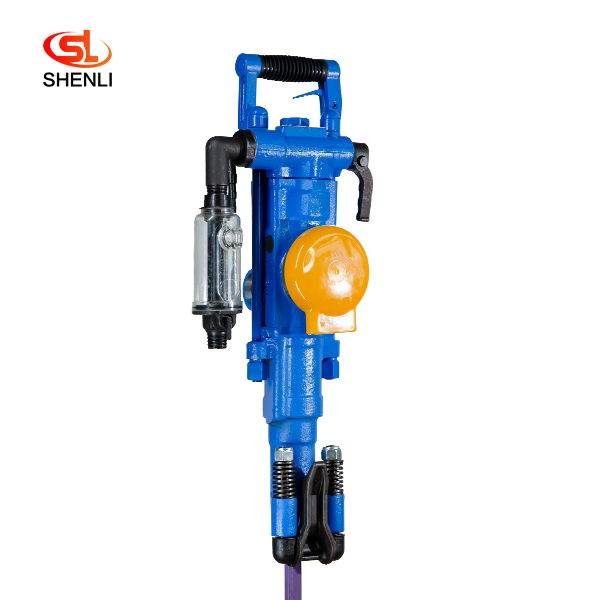
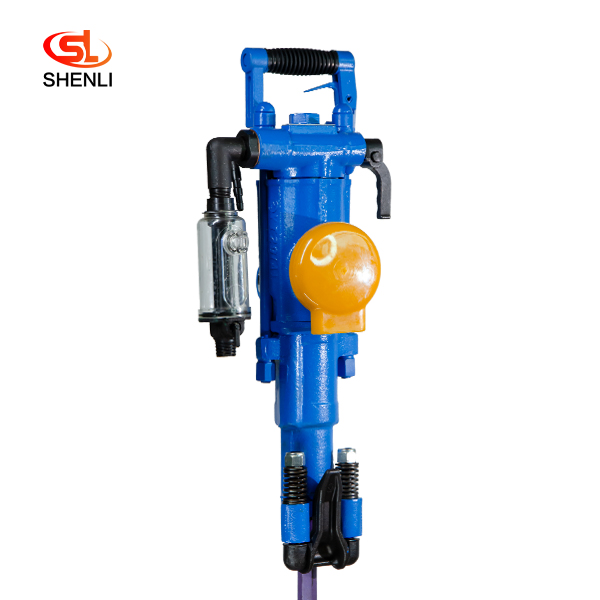
S250 Air Leg Pneumatic Rock Drill Pusher Leg Rock Drill
(S250 jackleg Drill) has been the preferred choice of miners who demand high performance, superior control and lasting reliability. the S250 jackleg allows operators to drill in co […]
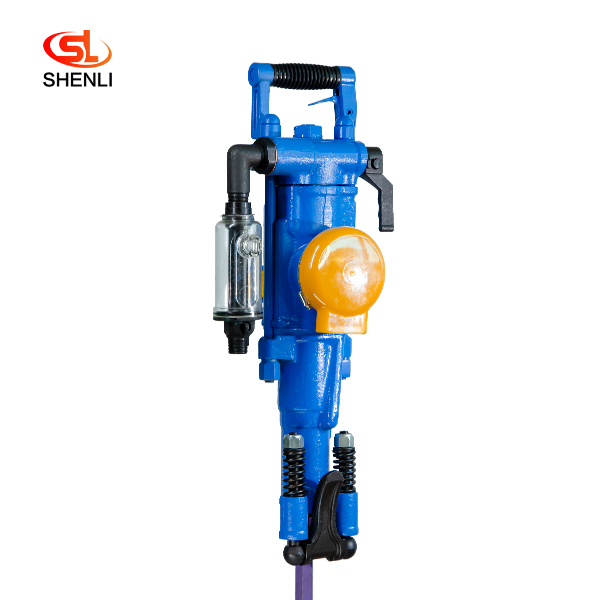
YT29A Air Leg Pneumatic Rock Drill Pusher Leg Rock Drill
YT29A air-legged rock drills are heavy-duty push-leg (air-legged) rock drills with low energy consumption, which are more suitable for drilling horizontal or inclined holes in medi […]
Cir Series Dth Bits(Low Pressure) Cir90-90
Down-the-hole (DTH) hammer bits are used with Down-the-hole hammers for drilling holes through a wide range of rock types. In conjunction with DTH hammers, drill hammer bits are de […]
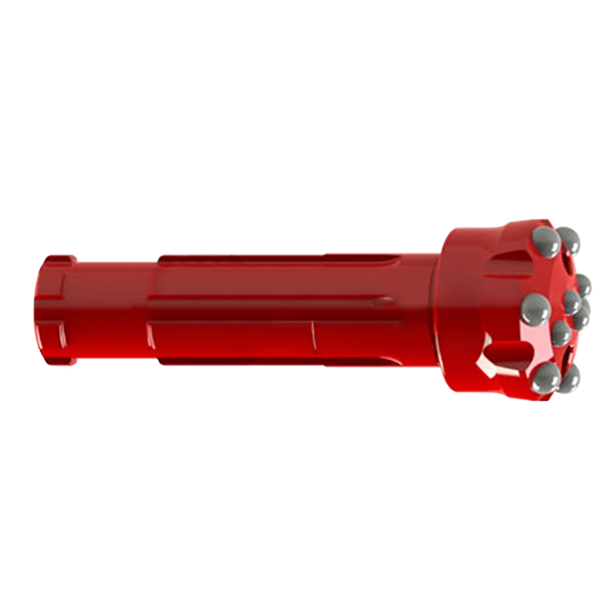
DHD Series DTH Bits(High Pressure) DHD
high pressure drill bit is mainly used in geological exploration, coal mine, water conservancy and hydropower, highway, railway, bridge, construction and construction, etc. Advanta […]
S82 Air Leg Pneumatic Rock Drill Pusher Leg Rock Dril
Model S82 air-legged rock drills are heavy-duty air-legged rock drills with high efficiency and low consumption, which are especially suitable for use in the construction of railro […]
YT28 Air Leg Pneumatic Rock Drill Pusher Leg Rock Drill
The YT28 air-leg rock drill is a kind of high-efficiency, energy-saving and environmentally friendly rock drilling equipment. Compared with similar pneumatic products, the YT28 air […]
Post time: 2023-07-10